NOTE: Certain links found within this article may lead to affiliate pages
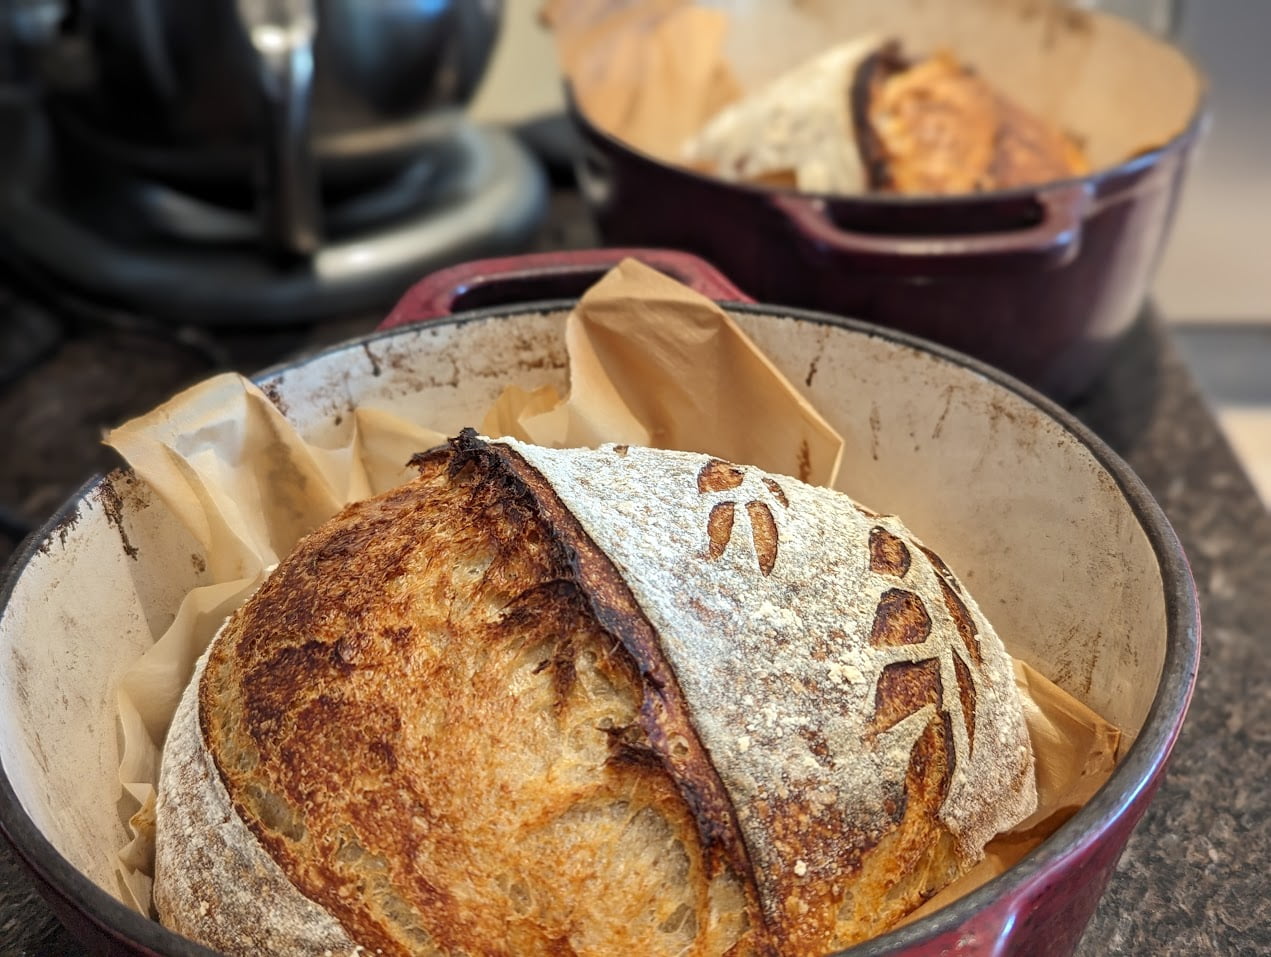
Beth Koster has been making sourdough bread for our family for close to 10 years. These are the instructions she sends to friends and people who get starter from her when they start their own sourdough journey.
Beth will be posting an instructional recipe on how to make a starter from scratch soon.
Allergen Warnings
This recipe may contain the following allergens. Please check all ingredient labels thoroughly

Overnight Sourdough Bread Recipe
Equipment
- Mixing Bowl
- Kitchen Scale
- Bench Scraper
- Bread Proofing Basket or Bowl
- Tea Towels
- Plastic Wrap or Shower Cap
- Knife or Razor Blade
- Dutch Oven or Oven Safe Pot with Lid
- Parchment Paper
Ingredients
- 375 gram warm water
- 75 gram sourdough starter
- 450 gram all-purpose flour
- 50 gram whole wheat flour
- 9 gram salt
- Rice flour or AP for dusting
Instructions
DAY 1
9:00 AM to noon
- Feed your sourdough starter, per your normal process. You will need between 50 and 100 grams of fed starter for this recipe (we used 75 grams in the recipe below).

9:00 PM
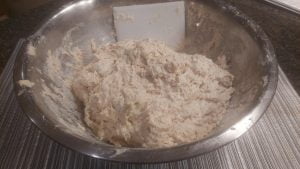
- In a large bowl place 350 grams of warm water. Add 75 grams of sourdough starter and mix to disperse. Add 450 grams of all-purpose flour and 50 grams of whole wheat flour. Mix to combine until all the flour is wet – the dough will be shaggy at this point. Cover with the tea towel and let sit for 30 minutes.
9:30 PM
- Mix your 9 grams of salt with the remaining 25 grams of warm water. Add the salt and water mixture to your flour mixture. Use your hands to combine – don’t worry it’ll be a little wet at first, but the water will absorb into the dough. Turn your dough out onto a surface and perform a set of ‘stretch and folds’, or ‘slap and folds’ (see below for details – I do ~8 folds in each set). Return dough to your bowl, cover with your tea towel, and let’s sit for 15 minutes.
9:45 PM
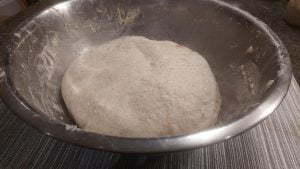
- Turn dough out onto surface and perform another set of stretch and folds or slap and folds. Return dough to your bowl, cover with your tea towel, and let’s sit for 15 minutes.
10:00 PM
- Turn dough out onto surface and perform one last set of stretch and folds or slap and folds. Put dough into a large bowl and cover with plastic wrap and a tea towel and let’s sit in a draft free place overnight.
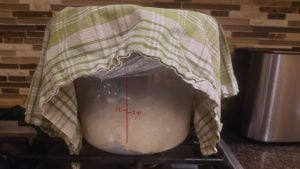
- ** you can feed your sourdough starter after you mix your bread in the evening, or you can feed it in the morning depending on how much you have and how it looks (i.e., mid-rise or deflated).
DAY 2
7:00 AM
- Turn the dough out onto a flowered surface. Pre shape the dough (see below for details) and cover lightly with a towel and let sit for 15 minutes.
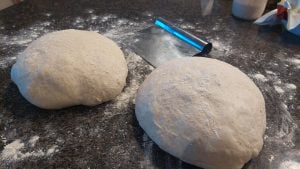
7:15 AM
- Lightly flour the surface of your dough and perform the final shaping (see details below).Put your dough seam side up into a floured dough rising basket (or a lined mixing bowl if you do not have a dough rising basket or ‘banneton’). Cover with a tea towel and put it in the fridge for 1 hour (or more if you would like – the longer you leave it the more sour flavour will develop).
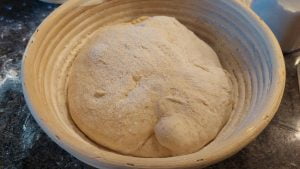
7:45 AM
- Place your large Dutch Oven (or oven-proof pot with a lid) into the oven. Turn on your oven to 500 degrees Fahrenheit.
8:10 AM
- Take the dough out of the refrigerator. Turn the dough out of your banneton onto a piece of parchment paper. Score the top of the bread with your knife of razor blade (see below for details).
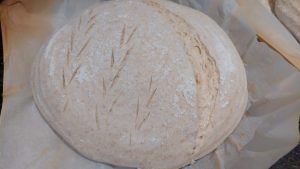
8:15 AM
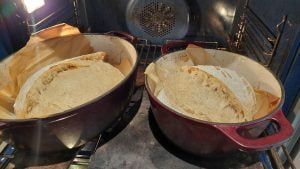
- Take the bottom of the Dutch Oven out of the oven, leaving the lid in the oven. Carefully lift your parchment paper with your sourdough bread and lower it into the pot. Place the lid on the pot and put it covered into the oven. Immediately lower the temperature of the oven to 450 degrees Fahrenheit. Bake with the lid on for 20 minutes.
variable
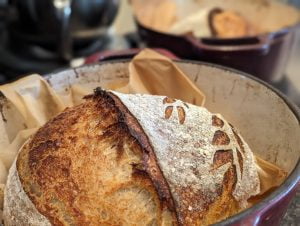
- Take the lid off the Dutch oven and bake in the Dutch oven for 20 to 25 minutes longer. If browning too quickly, you may want to drop the temperature to 425 degrees Fahrenheit.
Tips / Tricks and References:
- Slap and fold and stretch and fold techniques:
- Pre-shaping and shaping techniques: https://www.youtube.com/watch?v=z7Mnxzy-tvI
- Scoring technique: https://www.youtube.com/watch?v=waKVtursIjg
- Troubleshooting: https://www.youtube.com/watch?v=BJEHsvW2J6M&t=1107s
Equipment Sources:
- Bread making baskets (Amazon):
Amazon Canada
Amazon United States
- Bench scraper (Amazon):
Amazon Canada
Amazon United States
- Bread scoring tool (Lamel Amazon):
Amazon Canada
Amazon United States - Other Recipes to Try with your Sourdough Starter:
- https://www.feastingathome.com/sourdough-english-muffins/
- https://www.thepioneerwoman.com/food-cooking/recipes/a105247/sourdough-cheese-crackers/


Four years ago, I had the good fortune of receiving sourdough starter, along with this cherished recipe, from my friend Beth. This delightful gift sparked a weekly tradition of sourdough baking that my family has faithfully maintained ever since. Each week, as I mix, knead, and bake, I’m reminded of the warmth and generosity Beth shared, and I’m grateful for how this ritual has not only filled my home with the delicious aroma of freshly baked bread but also deepened my love for the art of baking.
Thanks so much Christine! I am so glad you and your wonderful family enjoy making and eating the bread as much as we do.