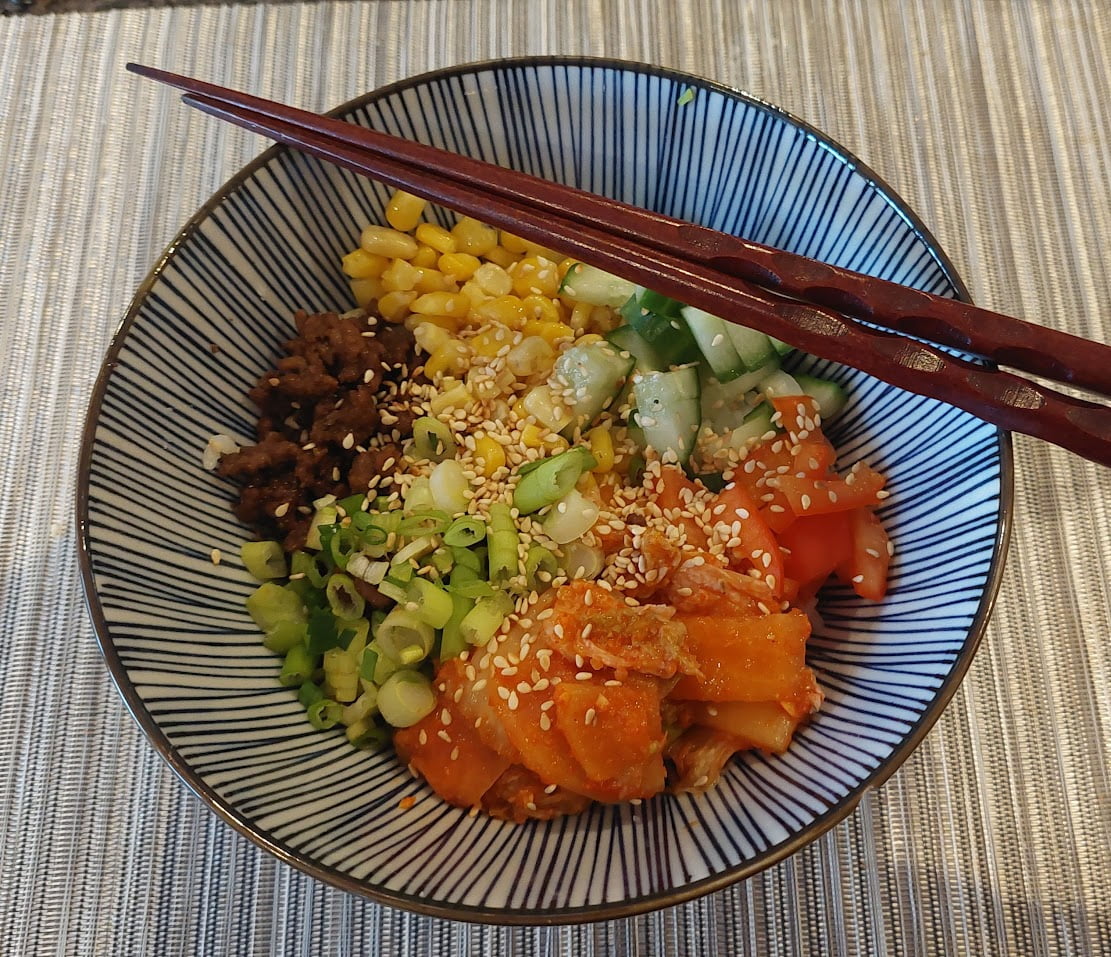
I started to make this recipe because I loved the taste of authentic Korean Kimchi, but was unaware of the presence of shrimp powder used in many commercial recipes … I am allergic to shellfish! This version uses miso (fermented soy bean) paste to recreate the umami needed for the salty, rich flavour. I have followed J. Kenji Lopez Alt for years, and love his recipes, which this one is based on. However, I found his recipe a little ambiguous on some of the directions, so I have added my adaptations and recommendations. The ratio of cabbage to daikon can be adjusted based on your preference.
Allergen Warnings
This recipe may contain the following allergens. Please check all ingredient labels thoroughly


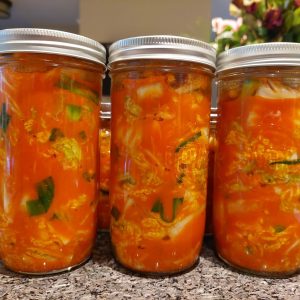
Kimchi
Equipment
- Food Processor / Blender
- Jars for Storage Wide mouth mason jars are our go to.
- Bowl for mixing
Ingredients
- 1 Napa Cabbage cored and chopped into 1 inch pieces, about 500 grams
- 1 Daikon Radish, Small about 300 grams, sliced into thin rounds, and then into quarters
- 8 Green Onions chopped into 2.5 cm (1 in) segments , whites reserved separately
- 16 grams Kosher Salt plus more to taste, as needed
- 8 cloves Garlic
- 5 cm Ginger, Peeled 2 inches
- 50 gram Korean Chile Powder gochugaru
- 60 mL Red or White Miso Paste Miso comes in a wide range of weights, so we've used a volume metric for it
- 12 gram Sugar
- 250 gram Water
Instructions
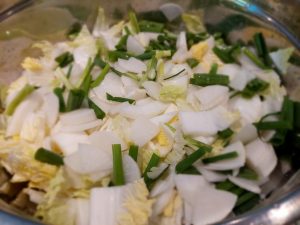
- Place cabbage leaves, daikon, and green onion green parts in a large bowl and sprinkle with 16 g (2 tbsp) kosher salt. Toss to combine, cover, then let sit at room temperature until cabbage is wilted, at least 1 hour and up to 12. It should release about 60 mL to 120 mL (1/4 to 1/2 cup) liquid.
- Combine green onion whites, garlic, ginger, chile powder, miso paste, and sugar in the bowl of a food processor or blender with 250 mL of water. Process until a rough paste is formed, about 30 seconds total, scraping down sides as necessary.
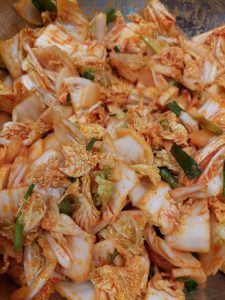
- Once cabbage is wilted, add chile mixture and turn to coat (do not pour off the water that has come from the wilting process). Taste the resulting liquid and add more salt as necessary, it should have the saltiness of sea water. Pack the kimchi into storage jars, pressing down firmly to pack tightly and using a chopstick to release any air bubbles trapped in the bottom of the jar. Cover the kimchi with its liquid.
- Seal the jars tightly and allow them to sit at cool room temperature for 24-48 hours, then transfer to the refrigerator. Allow the kimchi to ferment at least 1 week before eating (see notes). Alternatively, place directly in fridge after parking and taste daily starting after the first week until it’s as sour as you like it. For a milder flavor, consume within 1 month.
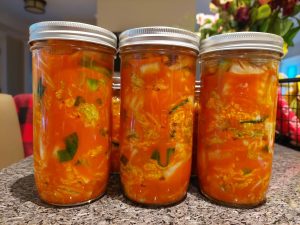
Notes
- Burrito bowls
- Fried rice

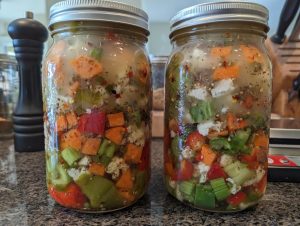
I like to ferment mine longer, using fermenting bubbler lids to release built up gas and leave out for weeks before refrigerating. Guess I’m into the funky tang! Also put some fine cut carrot in there too. When creating the ‘paste’ I’ve just started adding some rice flour to thicken everything up as I was finding the veggies weren’t necessarily drawing up the liquid. They do it very well with the rice flour addition.
Have you tried kimchi pancakes? Terrific. Also awesome on burgers, dogs and in scrambled eggs (draw off any moisture before adding the kimchi). A great probiotic food!
I haven’t tried kimchi pancakes yet, but it is on my list. Will check out the rice flour tip!! Happy fermenting!!